Hierarchies are used to illustrate a connection between one record and another in Verto .i.e. between two projects or a project, and it's parent programme. They are also used as a filter when generating dashboard reports.
Create a hierarchy
Top Tip
- Always start at the lowest level of the hierarchy - attaching the child to a parent, i.e. a project to a programme.
Go to the project that you want to add into a hierarchy and click on the Actions Menu > Hierarchy. A new window will open.
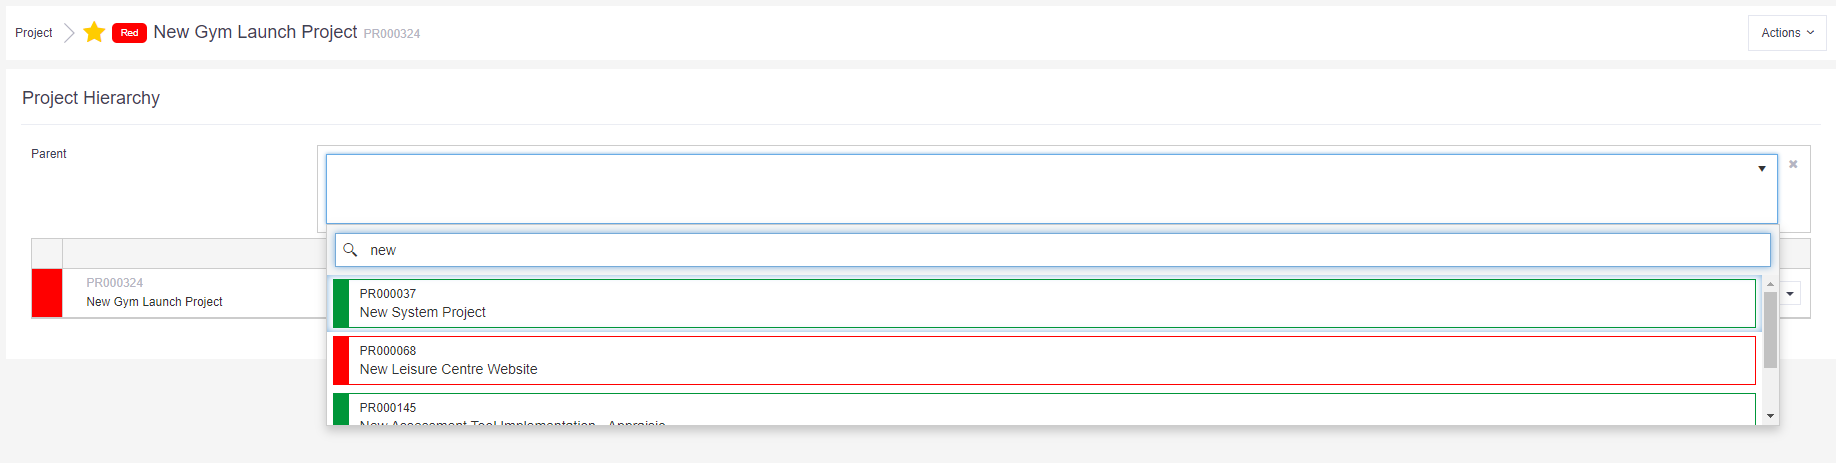
Click on the Parent box and search for the parent e.g. a programme or another project (either type name or ID code), select the parent from the list. Note: You must have access to the record you are searching for to find it in the list.
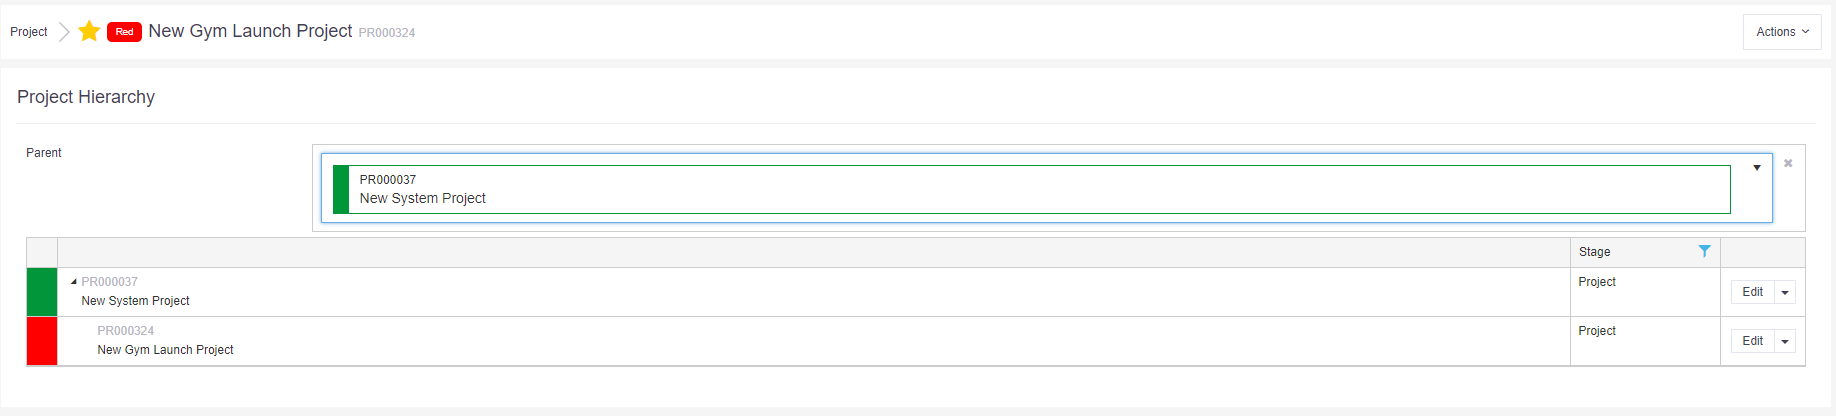
The hierarchy group will then be displayed showing the new project within the hierarchy.
View a hierarchy
- Within a project record: Click on the Actions Menu > Hierarchy.
- From the stage table view: Click on the hierarchy button against a record.
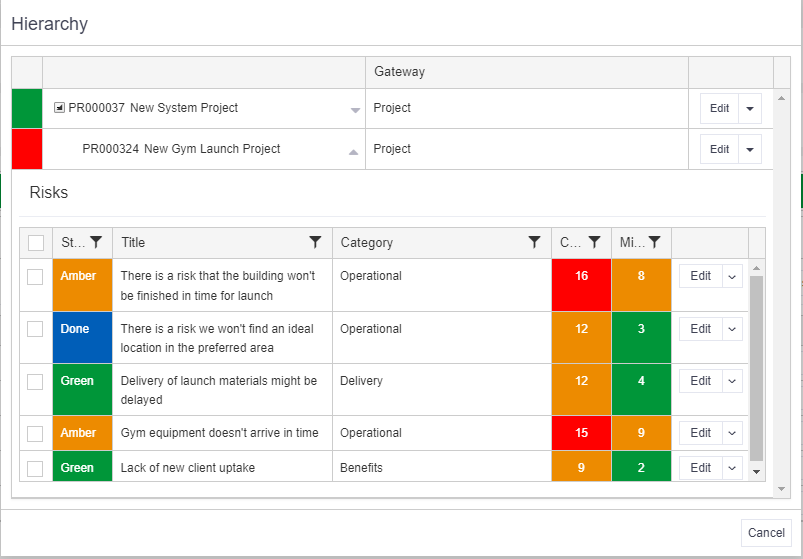
- From within a project table: Go to the desired project table e.g. Risks and click on Actions > Hierarchy. Then, click on the downward arrow next to any of the projects within the hierarchy to see their data.
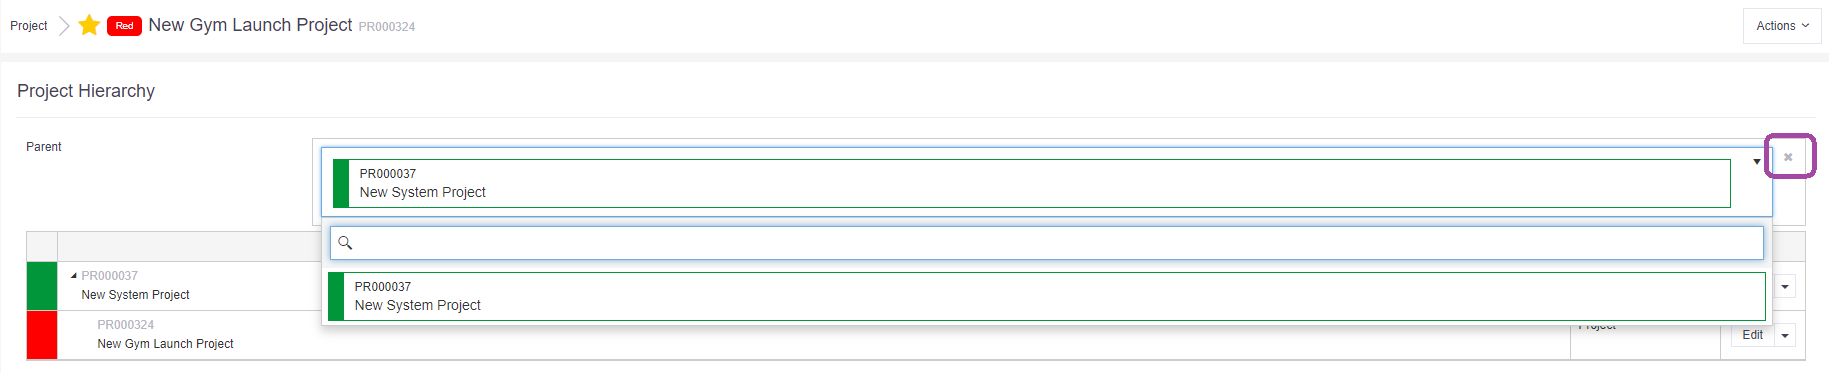
Remove a hierarchy
Go into the project that you want to remove from the hierarchy and click on the Actions Menu > Hierarchy. A new window will open.
Click on the existing parent box to reveal an X in the right-hand corner. Click on the X to remove the parent.
The project will then no longer be part of the hierarchy.