Sub-projects can be created in a few simple steps:
- Contact support@vertocloud.co.uk to request the addition of sub-projects on your Test Site. Provide the name of your sub-project i.e. Work Package, Workstream. This will be available for you to configure in Administration Cog > Configuration > Sub-Projects.
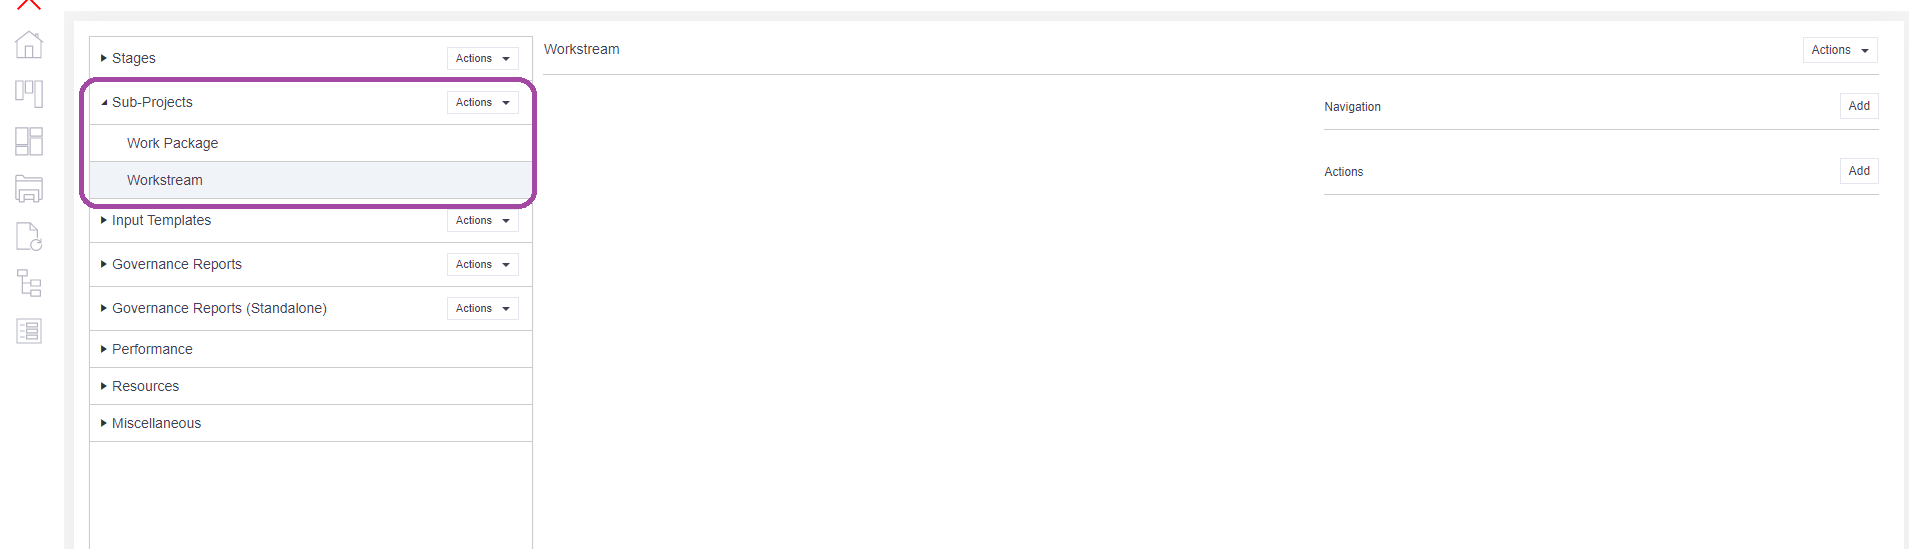
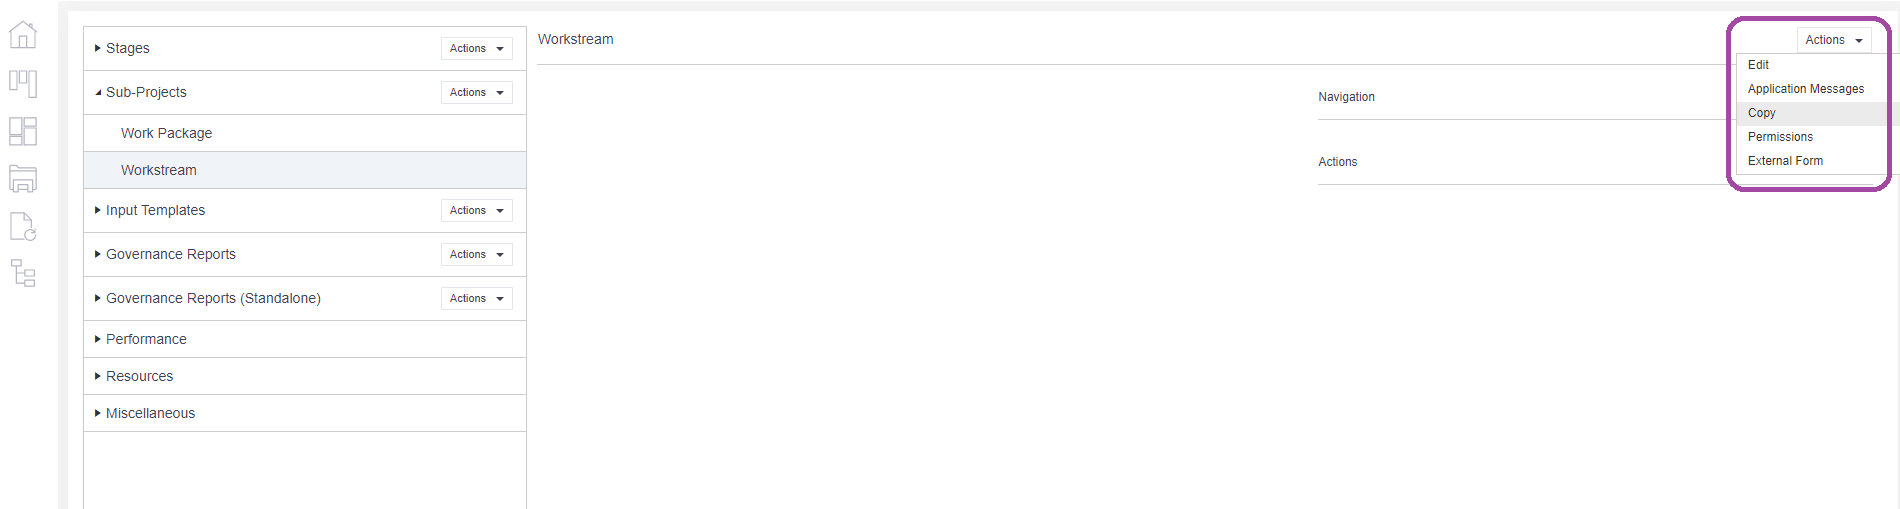
2. To speed up the build process, you can copy the configuration from an existing stage. Expand the triangle next to Sub-Projects and select a sub-project from the list. Click Actions > Copy. The stages will be displayed in a list. Select the stage you wish to copy FROM and click OK.
3. Amend the configuration for the sub-project as needed, using the same method for configuring a stage.
4. To attach the sub-project to a stage, go to the Administration Cog > Configuration. In the menu on the left-hand side, expand the triangle next to Stages and then select the relevant stage you wish to add the sub-project option to. Click on the Add button to the right of the Actions menu (bottom right hand corner), enter a description into the description field i.e. Sub-Projects, Work Packages etc. and click OK.
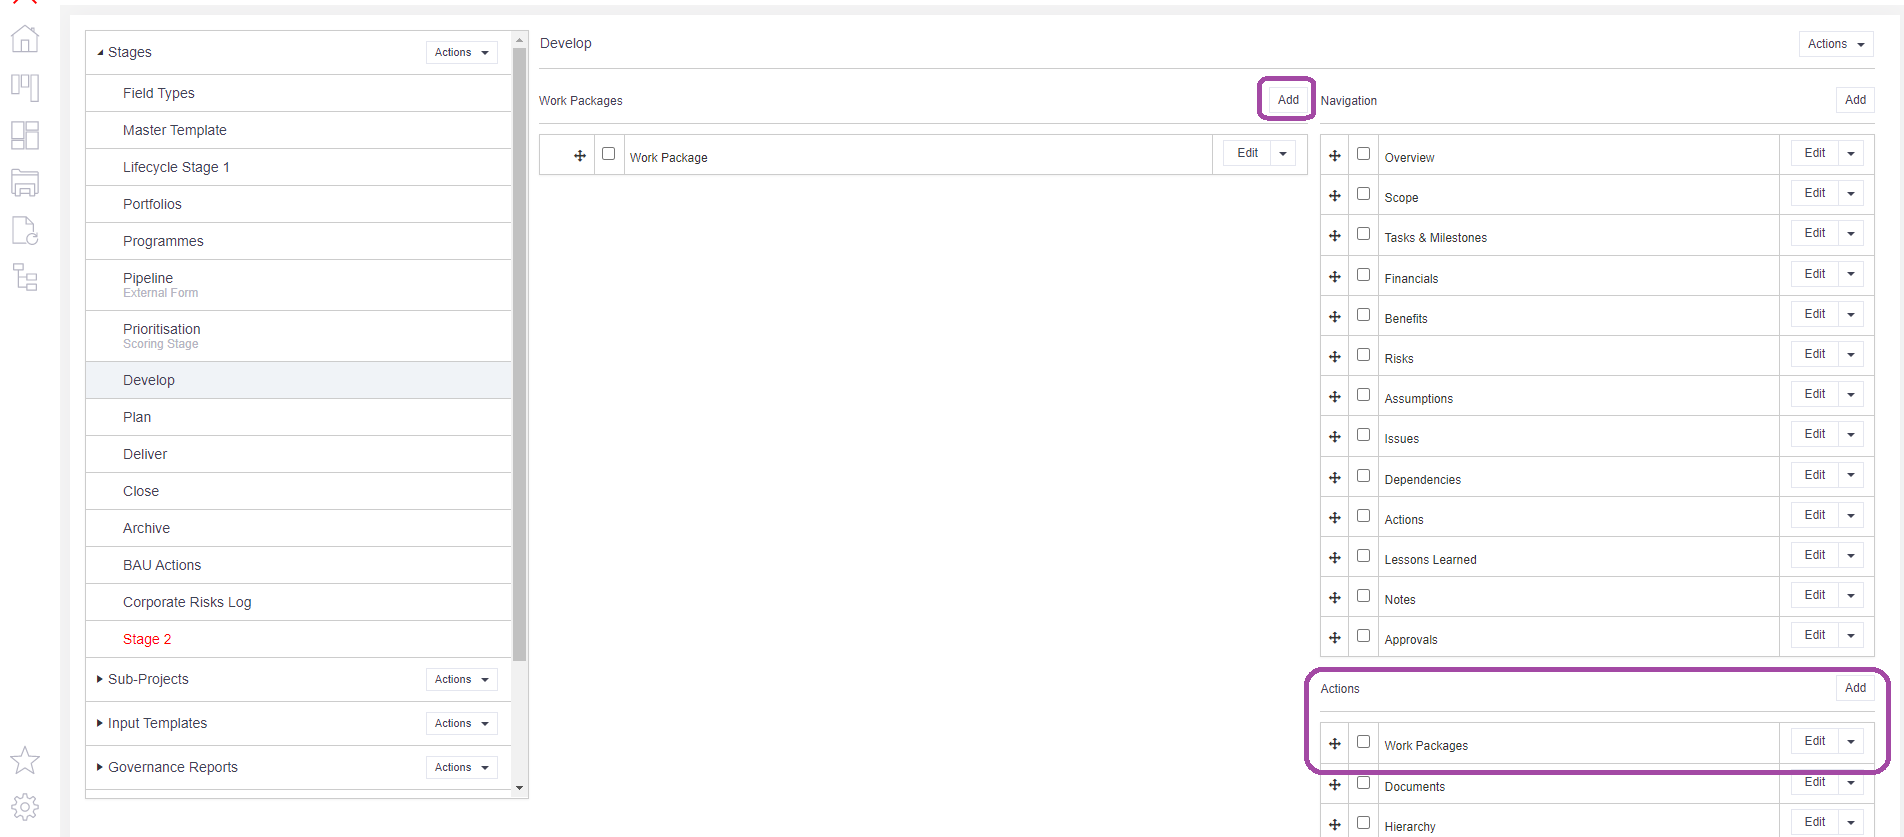
5. To complete the process, attach the sub-project to the new menu description. Click once on the description in the Actions Menu to reveal the Add button on the left-hand side of the screen. Click Add. Choose the sub-project from the list and click OK. The sub-project option will now be attached to the stage.
6. Users can access the sub-project option by clicking on the Sub-Projects icon in the sidebar for their project. From here new sub-project records can be added via Actions > Add.

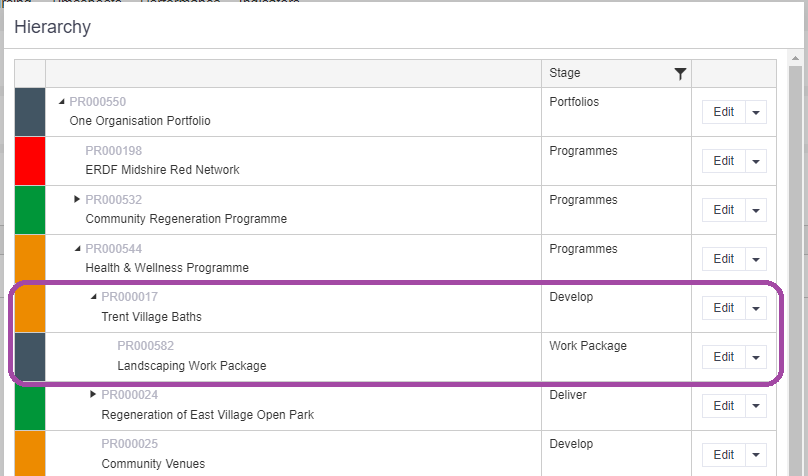
The hierarchy links between the project and sub-projects are automatically created and can be viewed via the hierarchy button.