Top Tip
- System generated documents such as governance reports i.e. health reports, change requests and stage approvals, are automatically stored in the Project file area, and cannot be deleted.
Documents can be uploaded in several places:
- Global file area – this file area is visible to ALL people using the system and so is a good place to store user guides and reference material. Only administrators can upload files to here. Click on the Files tab in the navigation menu at the top of the screen. If you are in the Teams App, this will be located under the Verto tab.
- Project file area – this file area is only visible to those people involved in the project and so is a good place to store project related documents, available to the project team. Anyone who has access to the project can upload and view files. Click on the project Files icon in the left-hand navigation menu to access this area.
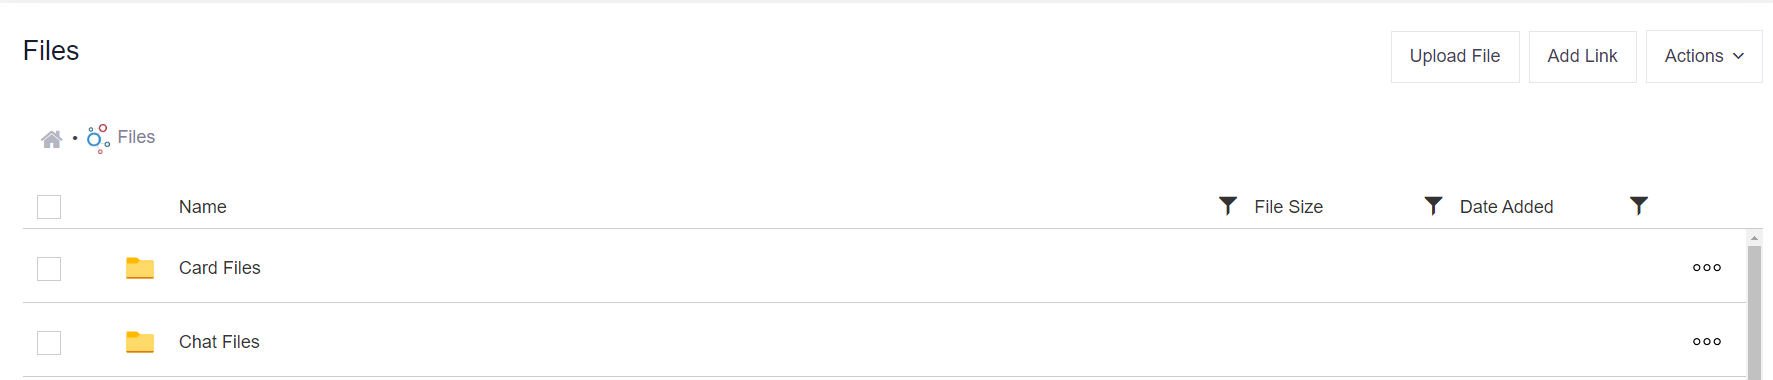
Uploading files
To add documents to a folder, click on Upload Files in the top right-hand corner of the screen. This will open your PC drive and you will be able to choose the document to upload. Multiple documents can be uploaded at the same time using the drag and drop function. The single file limit is 100MB.
Adding links
Organising your files
Click on Actions in the top right-hand corner of the screen to reveal a menu with the following options (options will be dependent on the file type):
- Add Folder - to create a new folder. You can either add a folder into the main folder area or within an existing individual folder.
- Select Items > Download – to download multiple files from the folder at once. Add a tick in the checkbox to the left of each file you want to download. Then select this option. Please note, Microsoft does not currently support the downloading of data via a Teams App. Please use Verto through your web browser when this is required.
- Select Items > Move - to move the selected items into another folder. Add a tick in the checkbox to the left of each file you want to move. Then select this option.
- Layout – to change the display view to either ‘Table’ or ‘Tiles’.
File actions
Click on the ‘…’ against a file to reveal a menu with the following options:
- Edit with – to edit a Microsoft file such as Word, Excel or PowerPoint. When you use this option, the document becomes locked until you save your changes and close it. Others can then view the changes you have made by clicking on ‘Version History’.
- Download – to download the file. Please note, Microsoft does not currently support the downloading of data via a Teams App. Please use Verto through your web browser when this is required.
- Rename – to rename the file.
- Delete – to delete the file from the project.
- Properties – to open a pop up containing more details about the file.
- Creak Link - to copy a link to the file which can then be used elsewhere.
- Move to - to move the file to another folder within the project.
- Version History – to see the version history for the file.