Any boards added to a workspace will be visible to all workspace members, making them a excellent tool for collaboration. Multiple boards can be added to a single workspace.
To create a new board, click on the Boards Icon in the left-hand navigation menu.
If this is the first time you are creating a board in your workspace, you will automatically be presented with the board template options. To access the template options via an existing board, simply click on Actions > Templates.
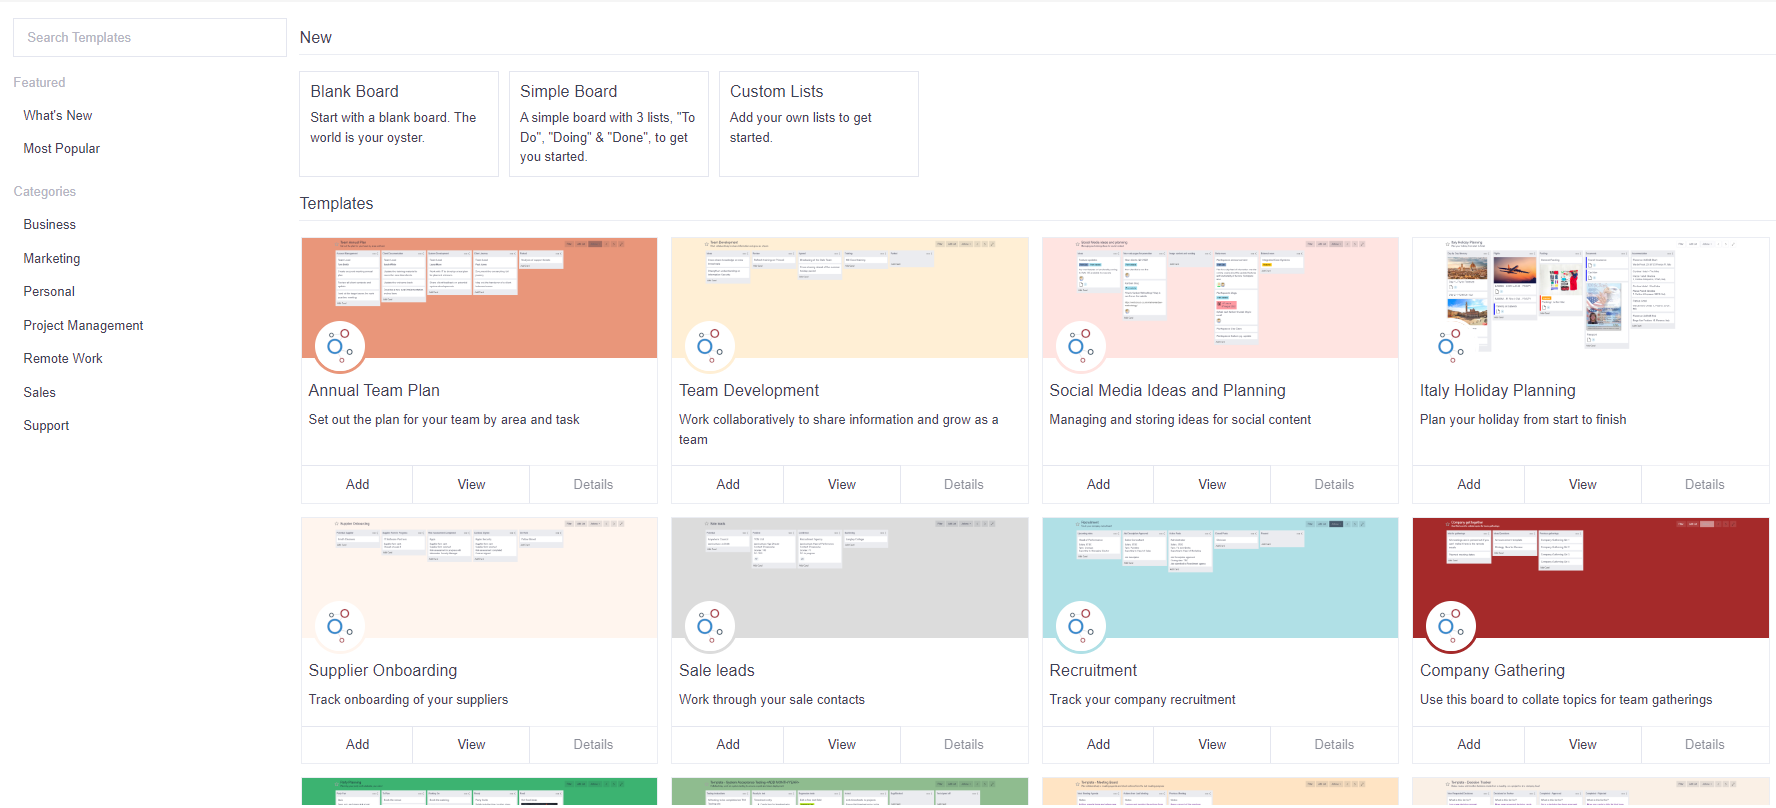
From here you can either create a new custom board or select from one of our ready-made templates.
Add a custom board
Click on one of the following options:
- Blank Board - enter a board title into the pop-up and click ‘Add’ to start working on your blank board. See How to add and edit lists for more information.
- Simple Board - enter a board title into the pop-up and click ‘Add’ to start working on your board with three pre-set lists (To Do, Doing, Done). See How to add and edit cards for more information.
- Custom Lists - enter a board title into the pop-up, along with at least one custom list title, and then click ‘Add’ to start working on your custom board. See How to add and edit cards for more information.
Add a board template
Click on the 'Add' button underneath a template to begin using it immediately.
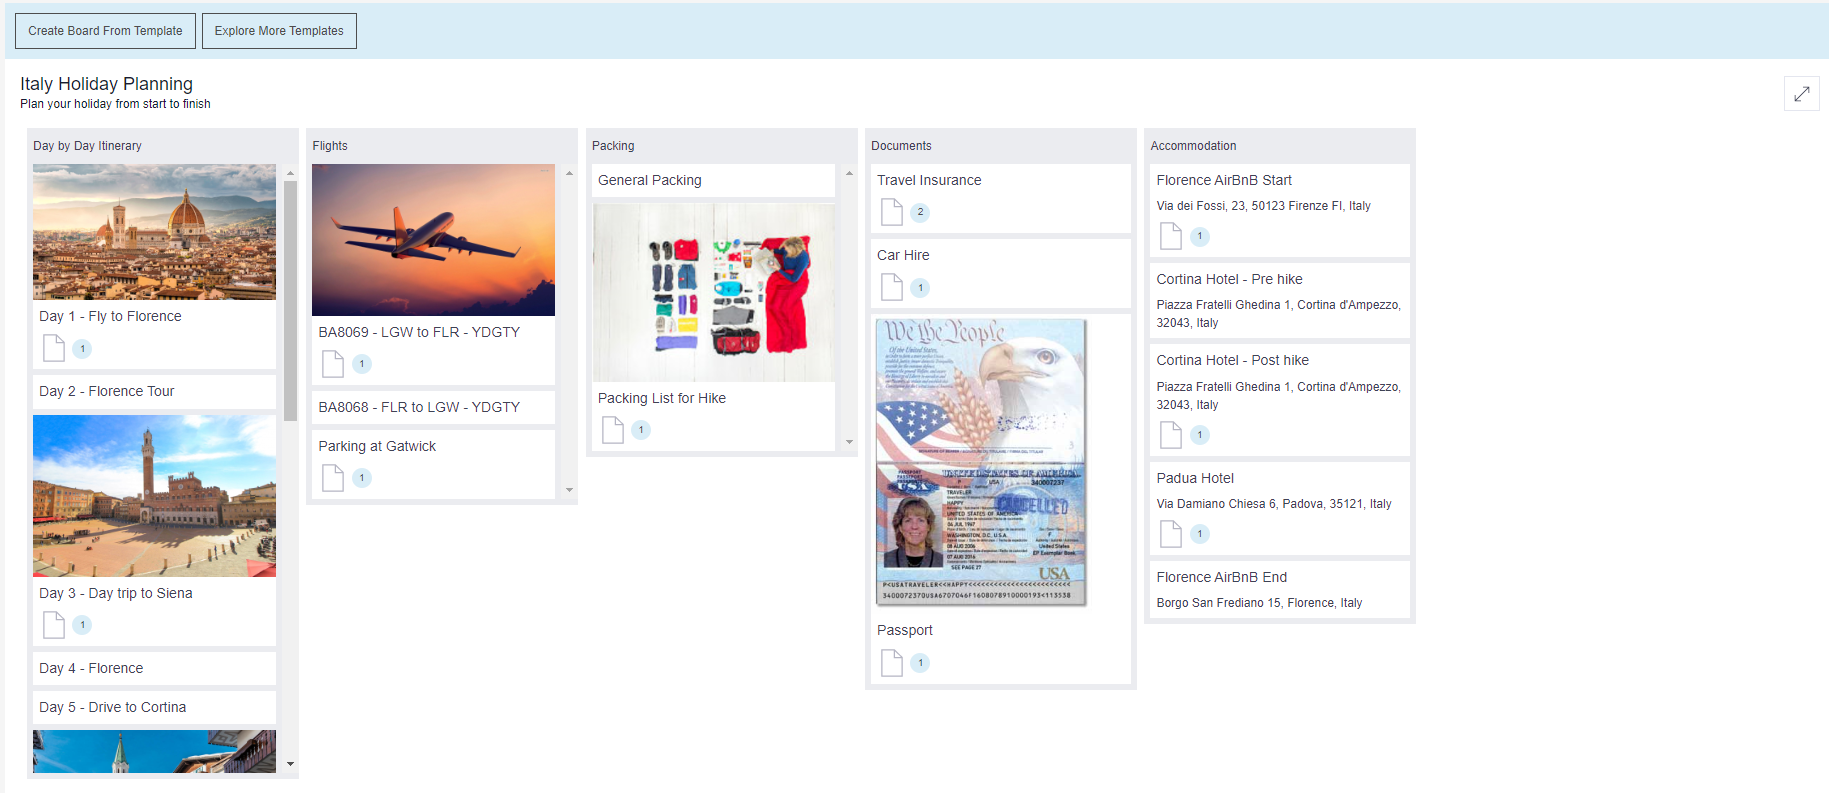
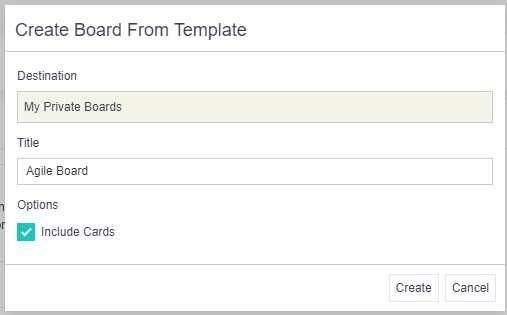
Alternatively, click on the 'View' button to see the template in full screen. From here either use the 'Create Board From Template' button to create a new board using the template or use the 'Explore More Templates' button to go back and explore the other templates available.
Note: When opting to use a board template you can also choose to keep the cards.
Top Tips
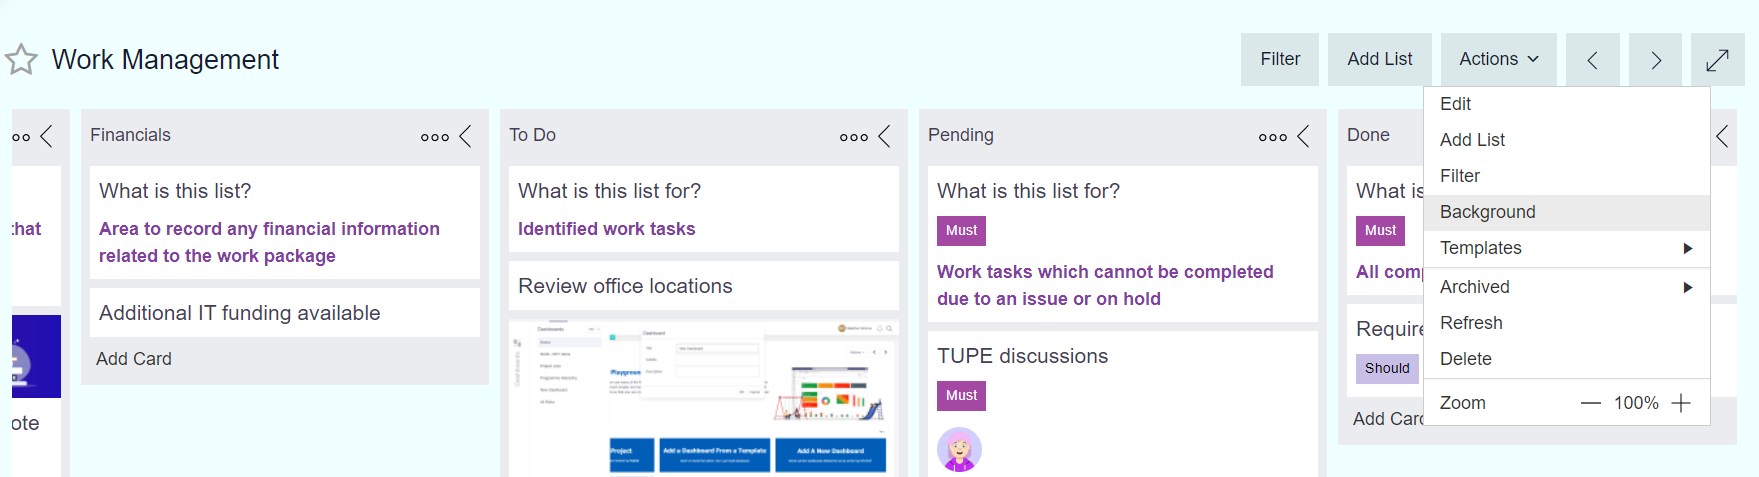
- To access the board templates screen from within an existing workspace board, click Actions > Templates. New boards can be added via this route at any time.
- To change the background colour of a board, click Actions > Background.